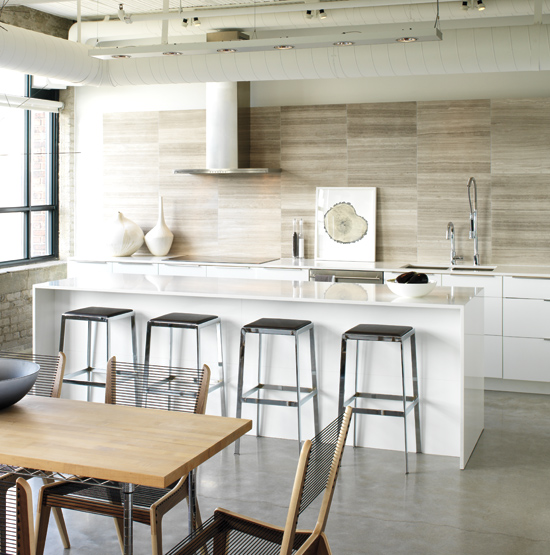
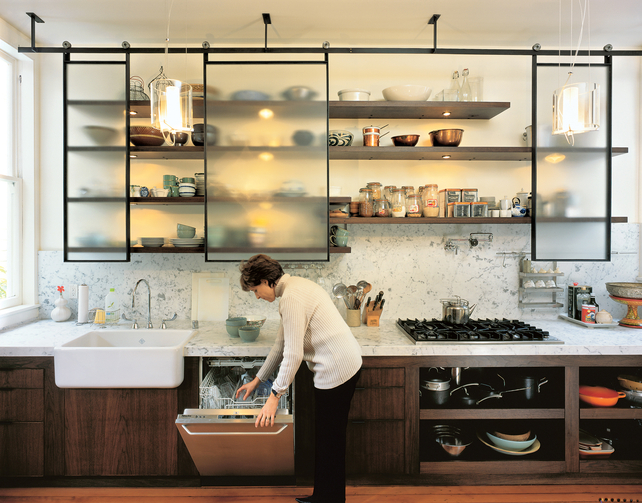
Booty
Published on Jan 3, 2012 - In: Uncategorized
I seriously feel like I just discovered buried treasure! May be old news to some, but brand new to me. And this is one of the reasons why I love blogs-uncovering new sources like a pirate scoring booty (and I don’t mean tail). Today, I found an incredible source for affordable modern printed fabrics, which in my opinion, just might be the mother load. Thanks Elements of Style! It’s not just for designers, you too can partake. The website is called Spoonflower and the fabric selection is A-mazing. I couldn’t even pick my favorites because there were just too many. Here’s a smattering.

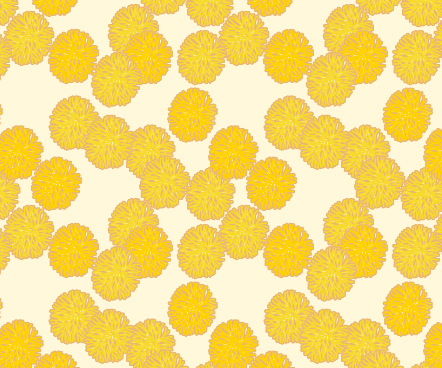
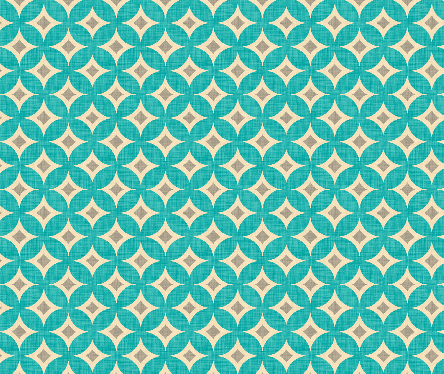

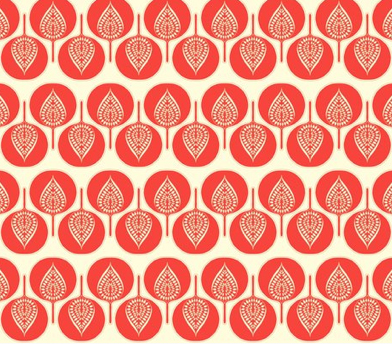
Makes me want to decorate Little Miss Sunshine (our retro trailer) in any of the yellow patterned fabrics. The site shows pattern scale, color search, and coordinating fabrics to boot. Thoughts? I think my <3 just skipped a beat.
- Comments Off
What’s your Christmas style?
Published on Dec 2, 2011 - In: Uncategorized
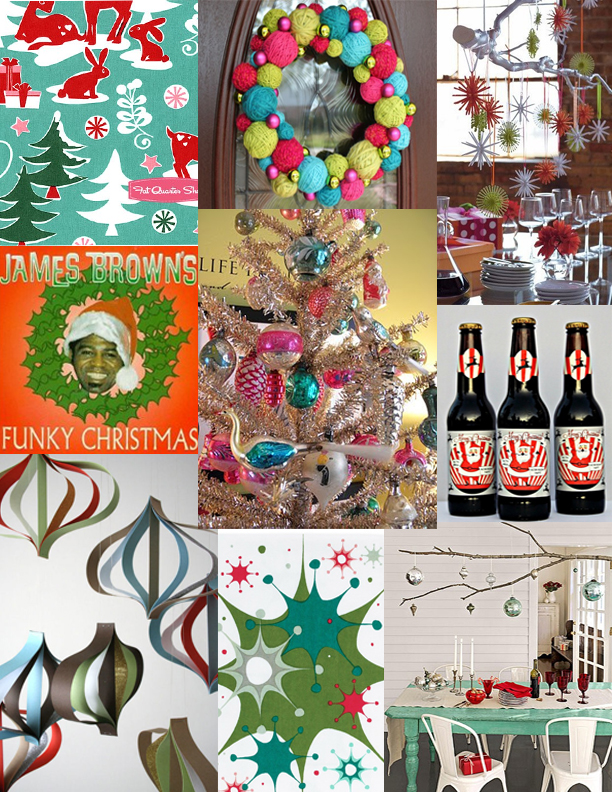
The decorating possibilites for Christmas can be more than your traditional red and green. I’m starting to see the injection of more creative combinations of colors with the standard Christmas tree, garlands, etc. A great way to incorporate your Christmas colors and style is through the ornaments placed on your tree or as accessories around the room, like an accent bowl on your coffee table filled with ornaments. Another way to inject your Christmas style and colors into your home is with your gift wrapping paper. Choose patterned paper or use a standard brown paper and wrap with colorful bows or ribbons. I’ve even seen patterns drawn onto the brown paper with gold or silver paint pens! A colorful pillow or throw is another great way to tie in the colors. I think a great centerpiece on the dining table also adds interest, and it doesn’t have to be flowers! Think objects or even hanging something over the table or incorporate with your light fixture if possible. Last year I did a neutral Christmas with metallic accents. You can check out the pictures here. This year I’ve decided to go a little more modern and am using the metallics and neutrals with pops of lime green, hunter green, and turquoise. I’ll be sure to post pics once everything is set up! I thought it would be fun to put together a board with a funky-retro Christmas style, and yes, I will be listening to the James Brown Christmas station on Pandora at our Christmas party!
A very, merry DIY Christmas!
Published on Nov 29, 2011 - In: Uncategorized
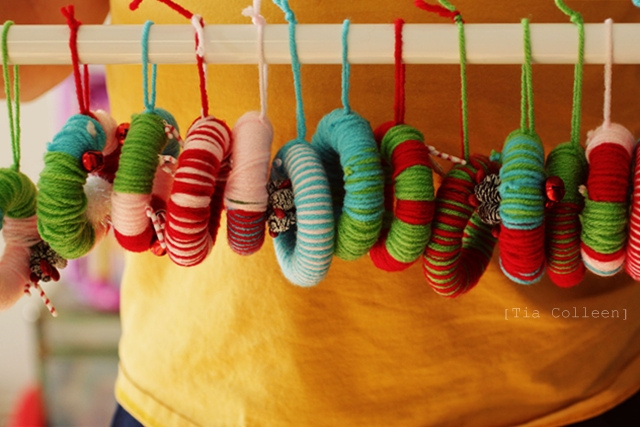
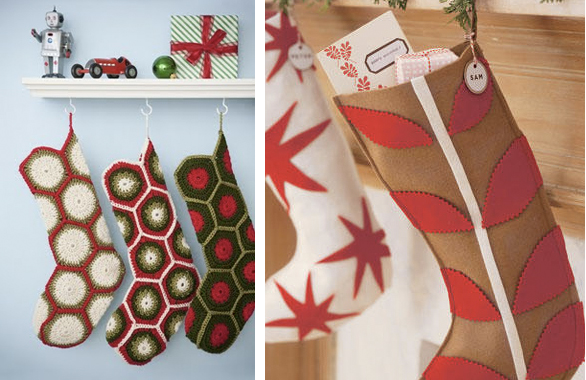
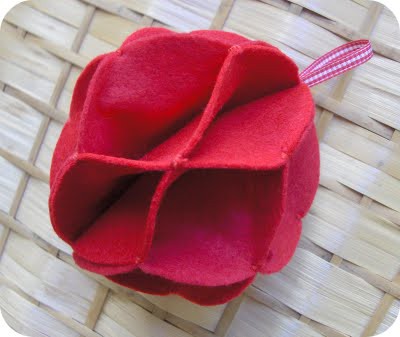
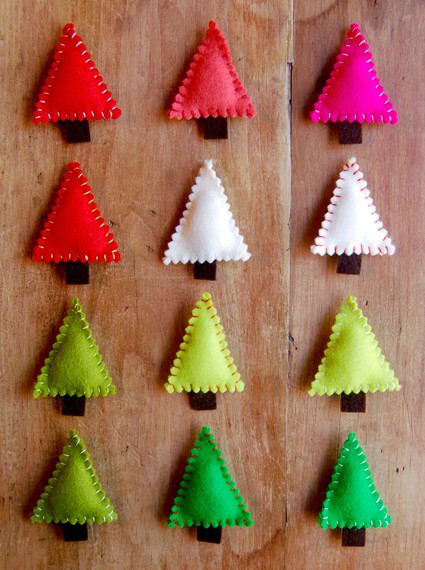
Let’s face it. Most of us are on a budget. Throw in what you’ve got for presents and there’s not much left over! If you like the idea of crafting, being creative, and being proud of something YOU made, then check out some of these clever holiday decorating ideas bound to make your home a little extra special this year
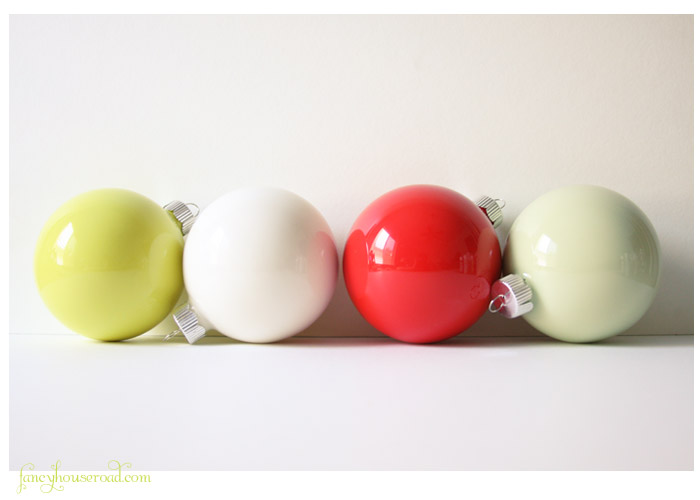
1. Can’t find your holiday decorating colors? These ornaments were made with clear glass/plastic ornaments and simply filling the inside of them with a (non-flammable) acrylic craft paint color of your choice!
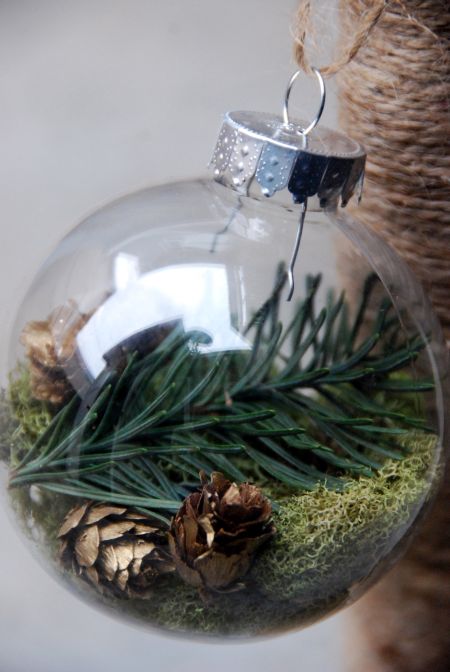
2. More with clear glass/plastic ornaments- fill it with literally whatever! The possibilities are endless!
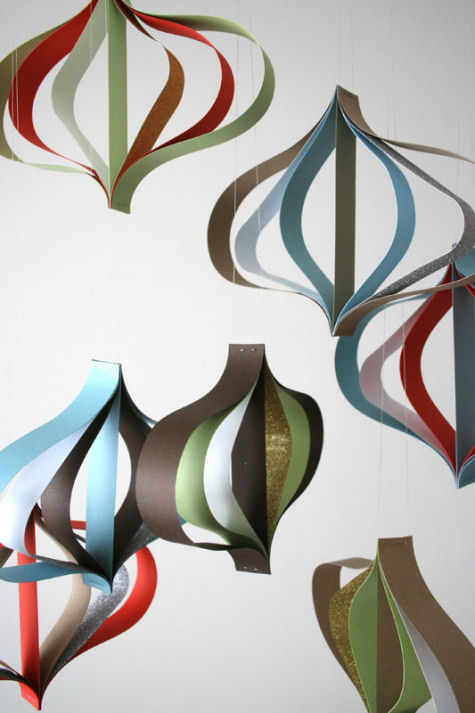
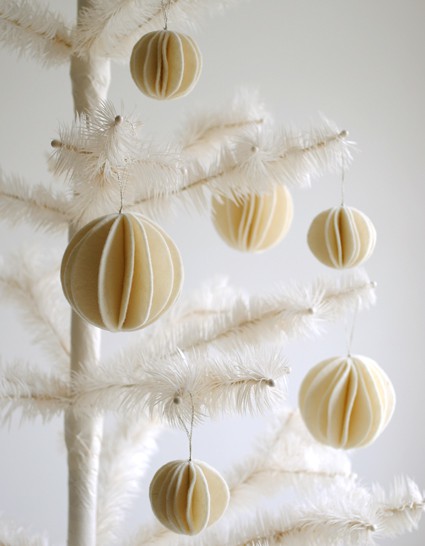
3. Want that all natur-al, neutral, vintage theme? I saw a version of these at Anthropologie!
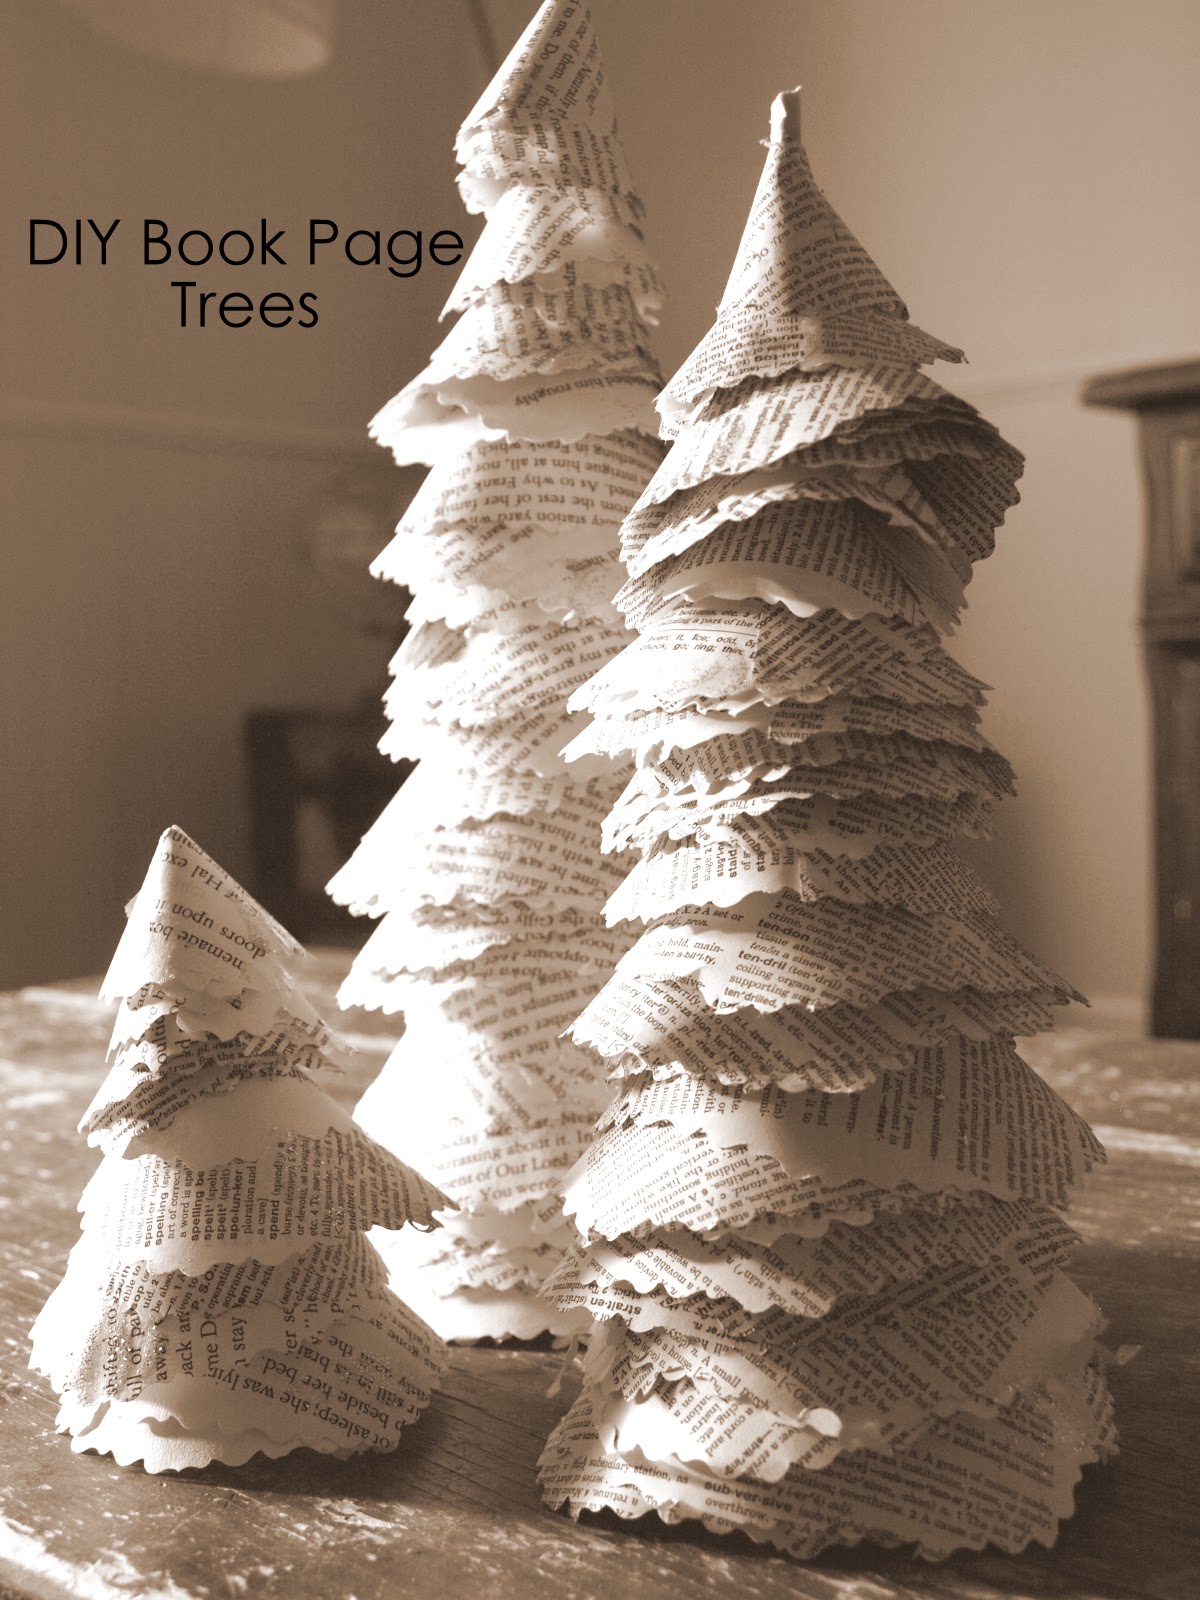
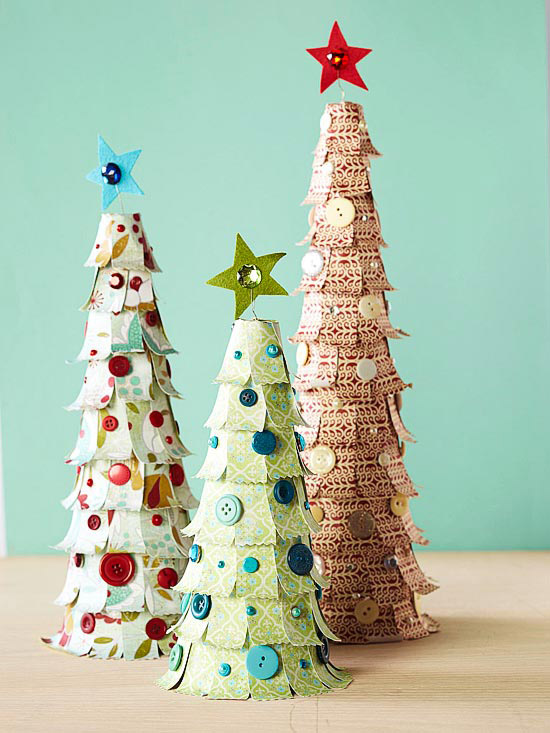
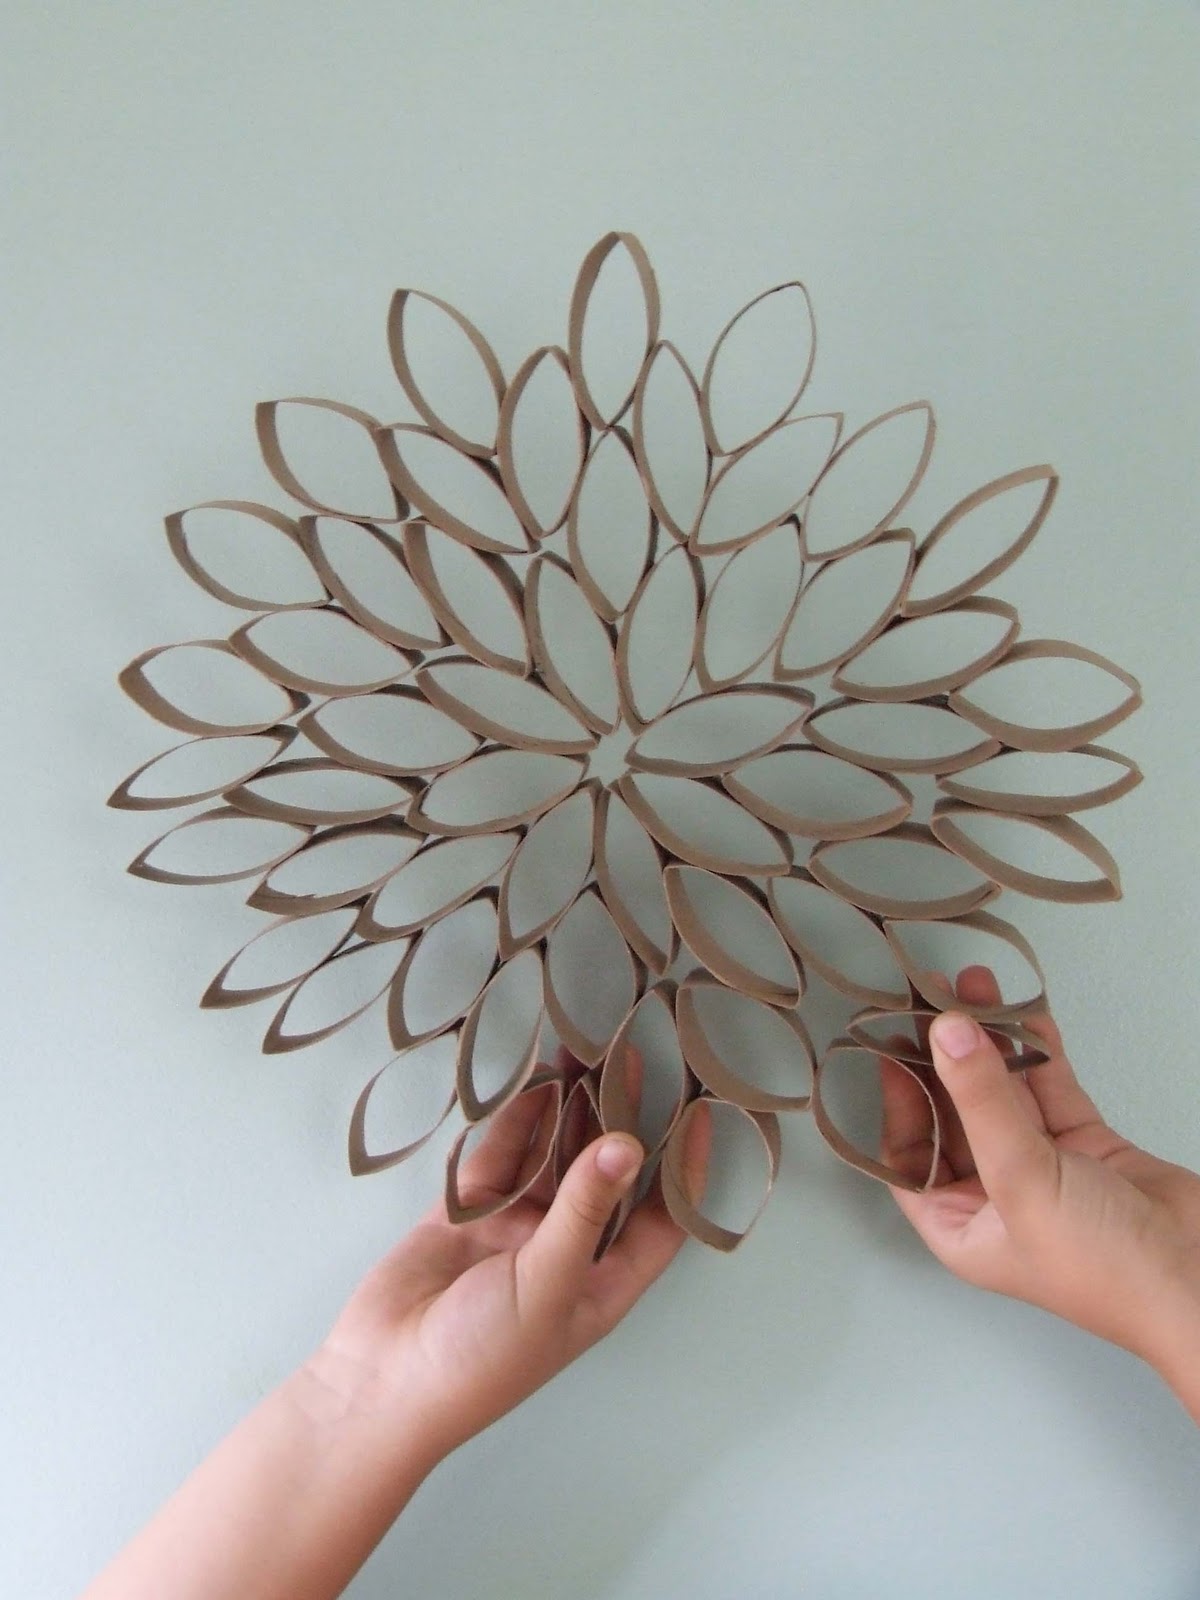
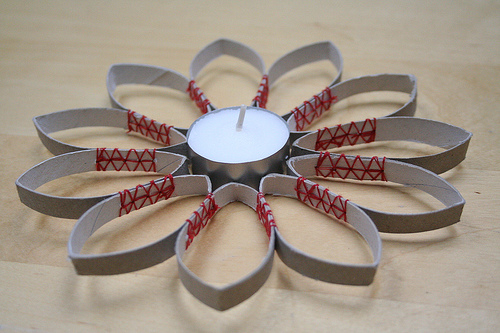
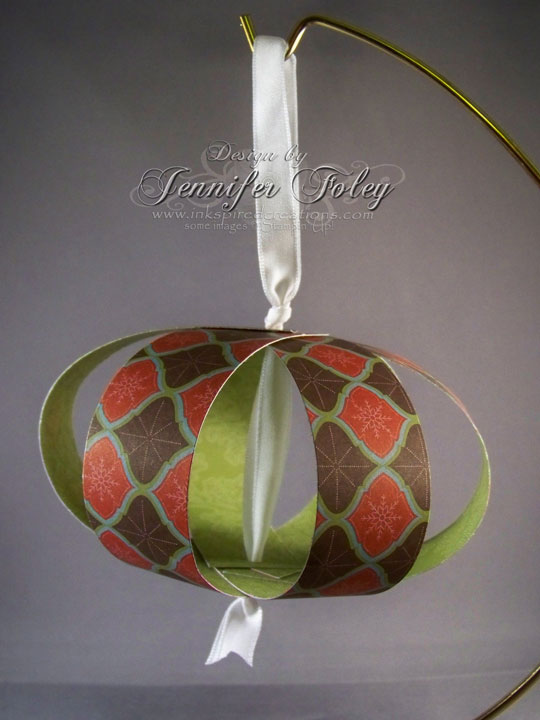
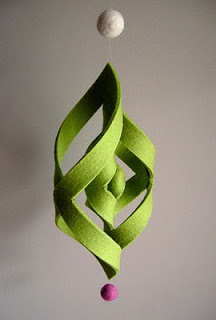
Make your own version with different colored or patterned paper. Add buttons, etc. Here’s another paper tree to get your wheels spinning:
It’s looking a little like Fall
Published on Nov 15, 2011 - In: Uncategorized
I think most states have already entered into a season of Fall and temperatures have started to dip, sweaters and scarves are coming out, and leaves are starting to change. Here in Texas, we don’t really have fall per say- we get some cold fronts, the leaves change a little… WE GOT RAIN TODAY!!! Since Thanksgiving is just around the corner, I’m feeling a little inspired by all things that feel Fall.
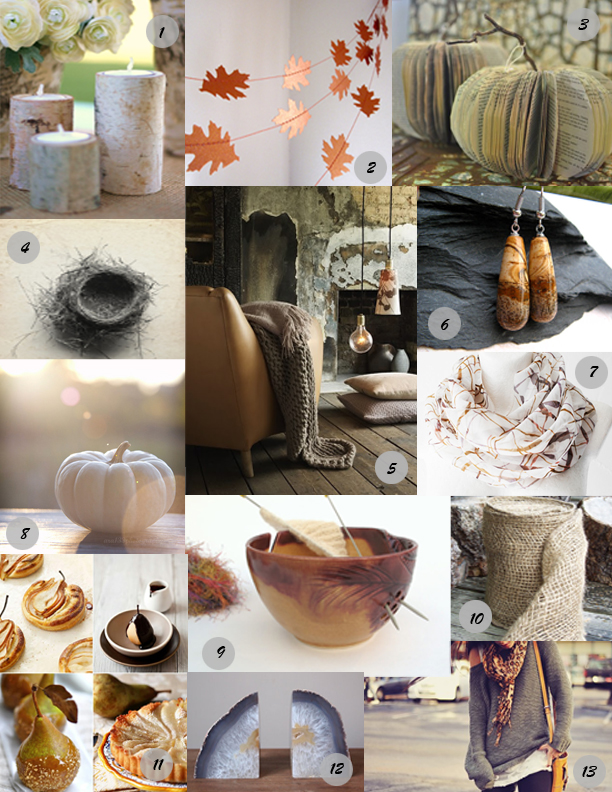
Finds:
1. Birch Bark candle holders- Bragging Bags, Etsy.
2. Crisp fall days paper garland- Arts Delight, Etsy.
3. Book page pumpkins-Pinterest.
4. Empty Nest photograph. Lucysnowephotography, Etsy.
5. Cozy living room-Pinterest.
6. Gemstone earrings- Art Inspired Gifts, Etsy.
7. Autumn sunset loop scarf- White Moth, Etsy.
8. October Dusk photograph- Ara133photography, Etsy.
9. Autumn yarn wool organizer- Blueroom Pottery, Etsy.
10. Woven burlap ribbon- Gorustic, Etsy.
11. Yummy fall desserts- Pinterest.
12. Vintage geode bookends- Kingsdownroad, Etsy.
13. Fall fashion- Pinterest.
Office Space
Published on Nov 14, 2011 - In: Uncategorized
Since transitioning into my own Interior Design business, I have begun to really focus on getting my office space together and organized! This is kind of a challenge because as of right now I am working out of my home to keep the overhead low. It’s very easy to plop down with my laptop just about anywhere, and I like the flexibility (don’t get me wrong), but I’m starting to have enough things going on that require me to really get organized and get a good storage system going. For now I will be sharing our upstairs loft area with my husband’s drum set, oh joy . So it will be kind of like a play area/work space. I love a modern, clean aesthetic with some rustic, natural elements mixed in. I’m inspired by these spaces, found on my new addiction Pinterest.
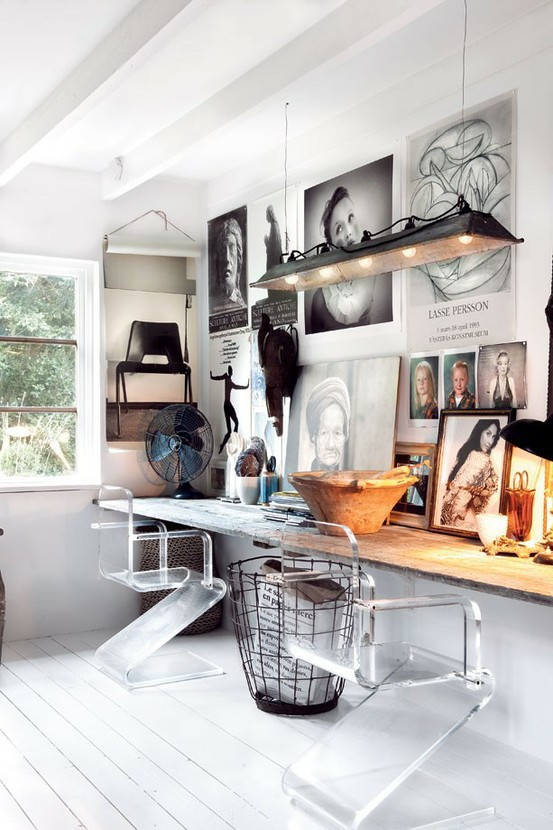
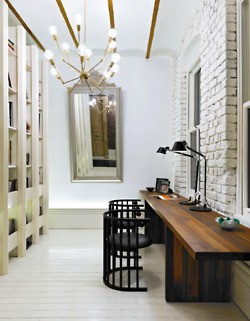
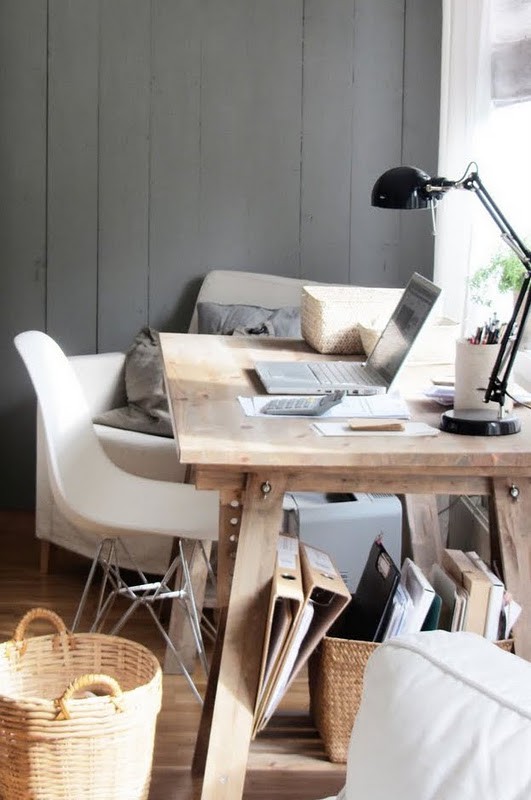
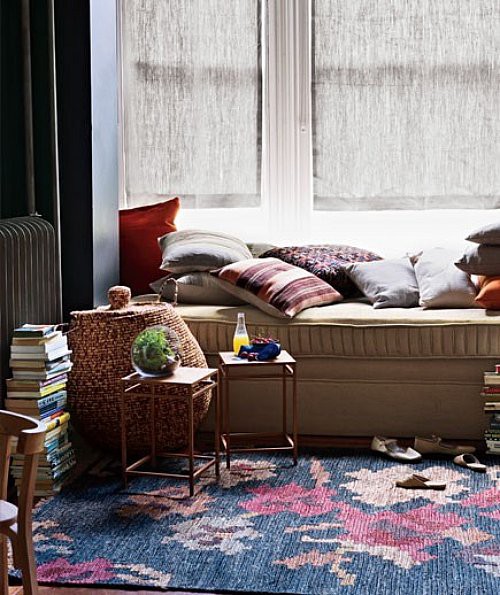
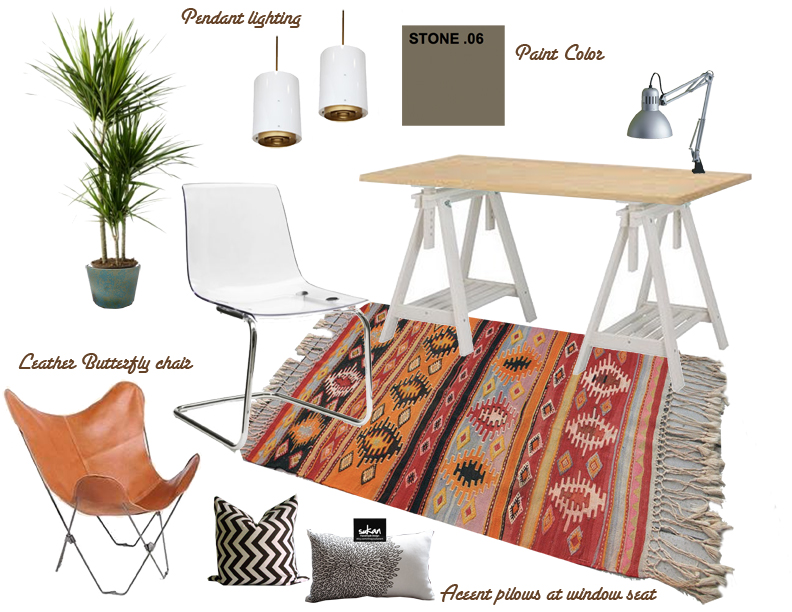
We have a window seat area just like this in the loft, so I’d love to have a cushion made and throw some pillows up there to make it more comfortable and a space where we can hang out, listen to Merrick play the drums (with our ear plugs in), and work. And here’s a quick design board I put together of what I invision our loft work space to look like:
Lifeworks Home Improvement Challenge 2011
Published on Oct 10, 2011 - In: Uncategorized
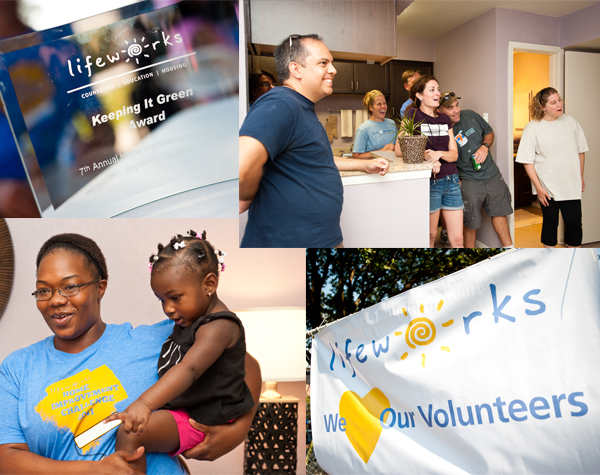
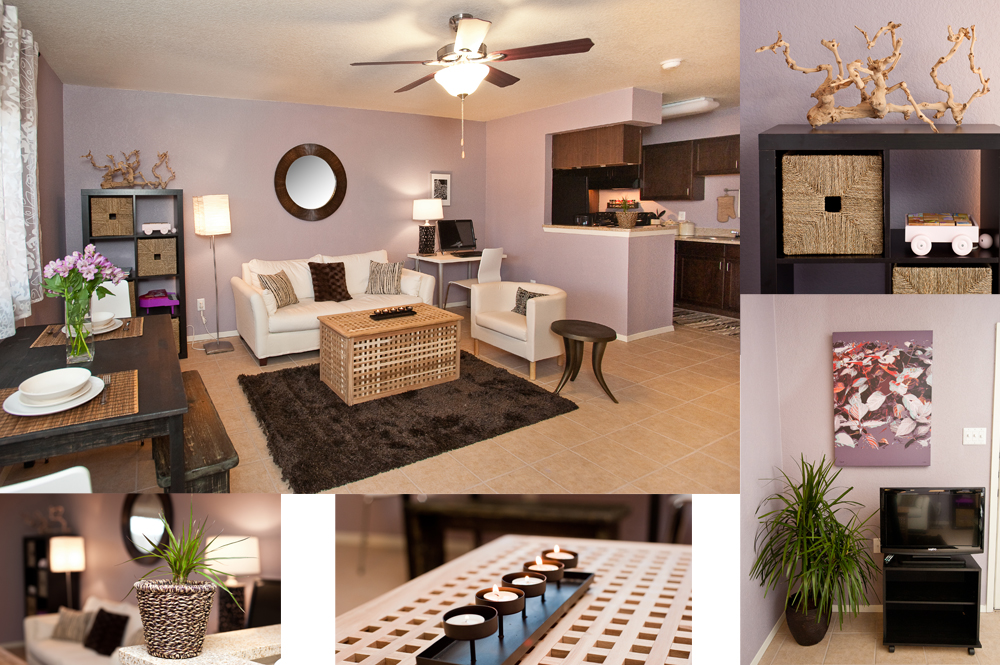
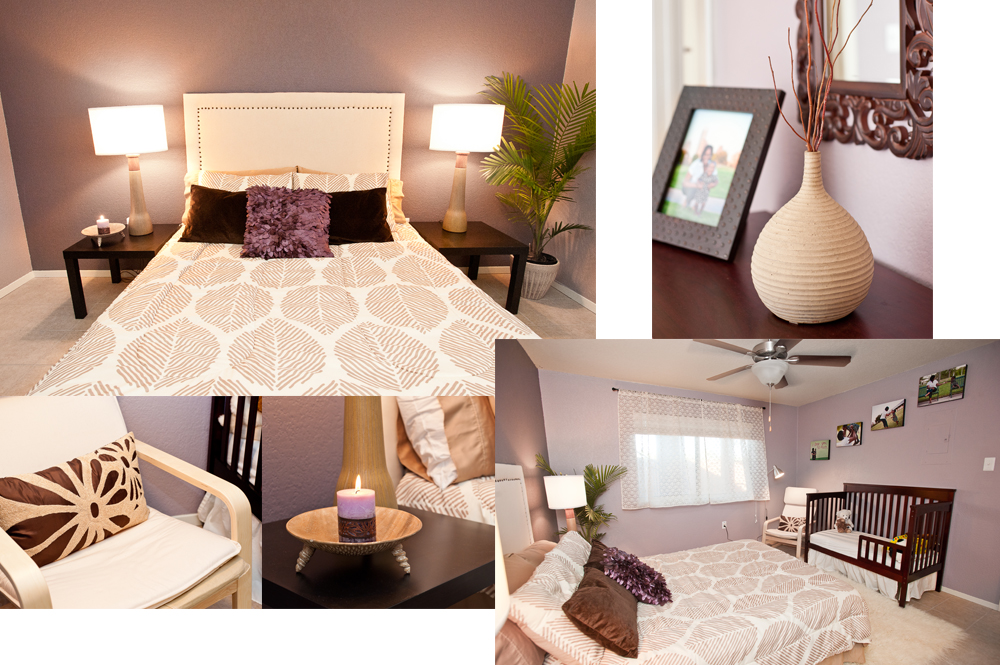
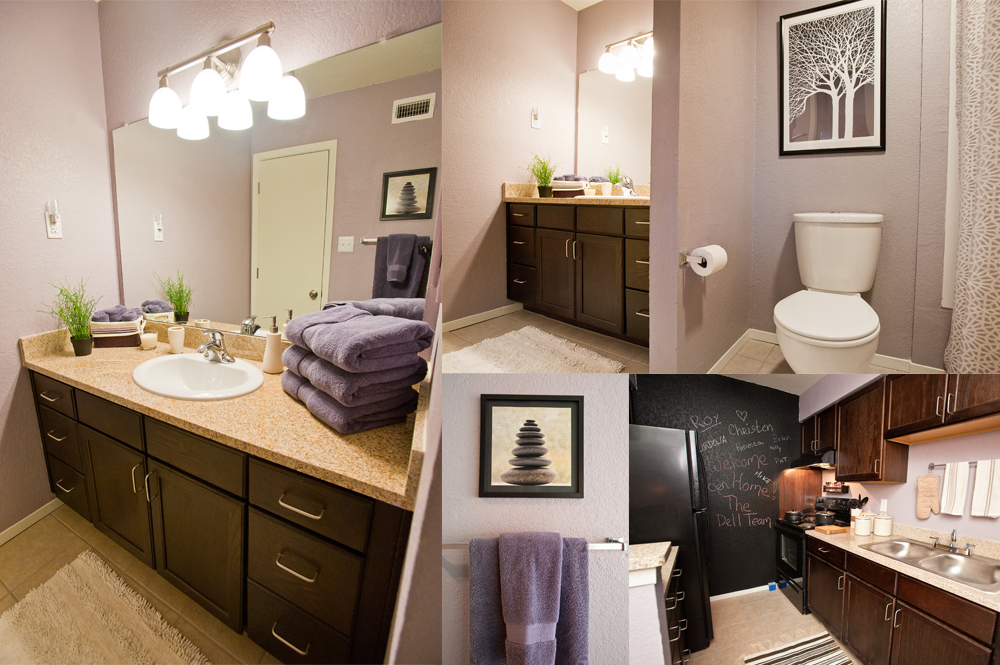
I had the awesome opportunity to participate in Austin’s 7th annual Lifeworks Home Improvement Challenge this year! My motto is promoting the wellbeing of others through the creation of beautiful spaces, so this seemed like a perfect opportunity to help someone else through design. Lifeworks specializes in helping young adults who have been homeless at some point, are single mothers, or are growing out of foster care. They give them the tools to succeed and some deserving clients apartments to help them get on their feet. I had the opportunity to design one of these apartments with the help of other volunteers from Dell. It was super fun and our client was thrilled with the results. The apartment was studio like in style, with the Living and Dining spaces being shared in one room, one bedroom for our client and her 20 month old daughter, and one bathroom. The mother (Tre) and daughter (Ti’yanna) would be sharing the bedroom, which I saw as the biggest challenge. Tre really wanted a space that felt relaxing and peaceful, and her favorite colors were lavender and chocolate brown. She also liked African motifs and texture, and candles. I think we pretty much nailed the design aesthetic (according to Tre) on our very limited budget! It was such a rewarding experience We also won the “Keeping it Green” award for our use of environmentally friendly products, sustainable materials, and repurposed furnishings. I definitely see myself doing this every year!
Casa de Ales
Published on Oct 4, 2011 - In: Uncategorized
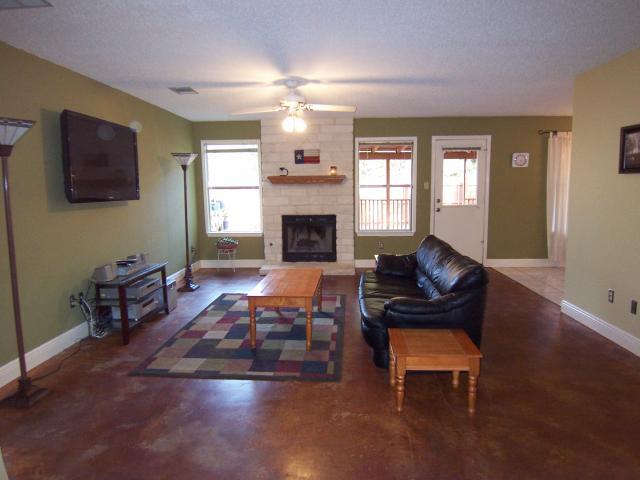
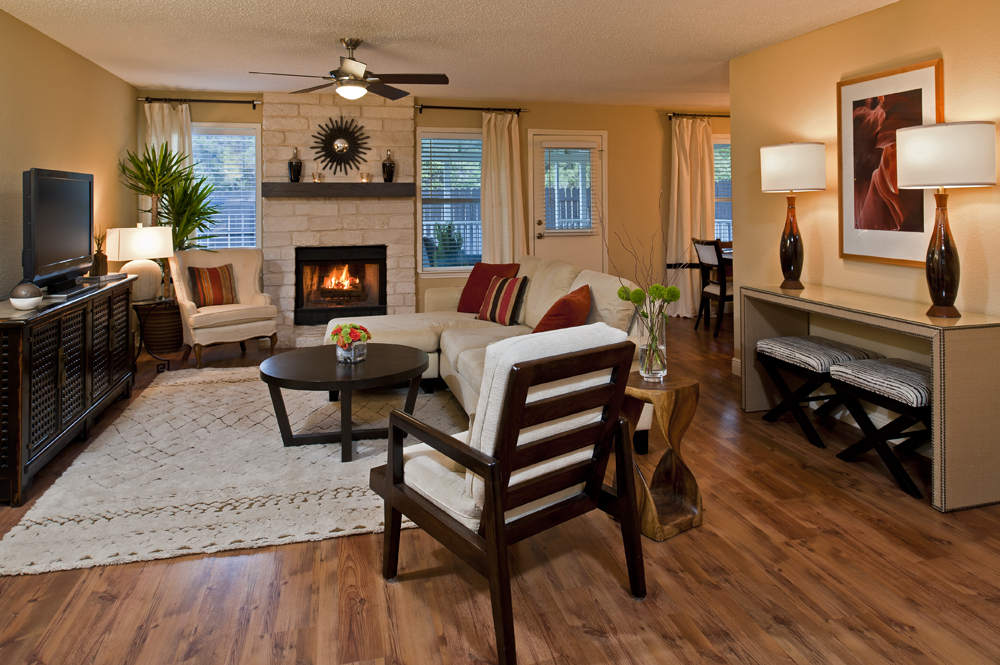
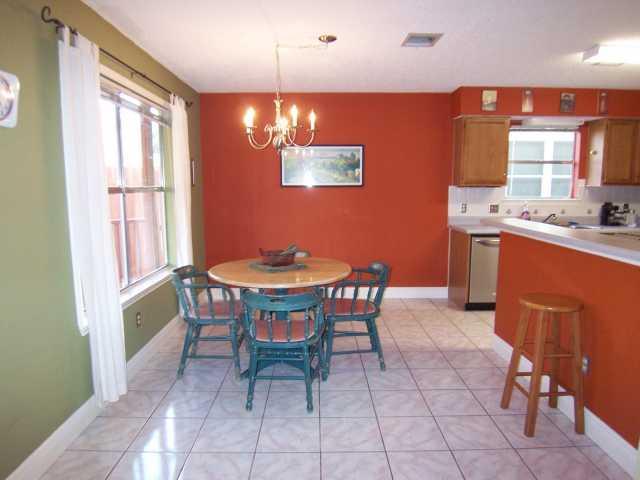
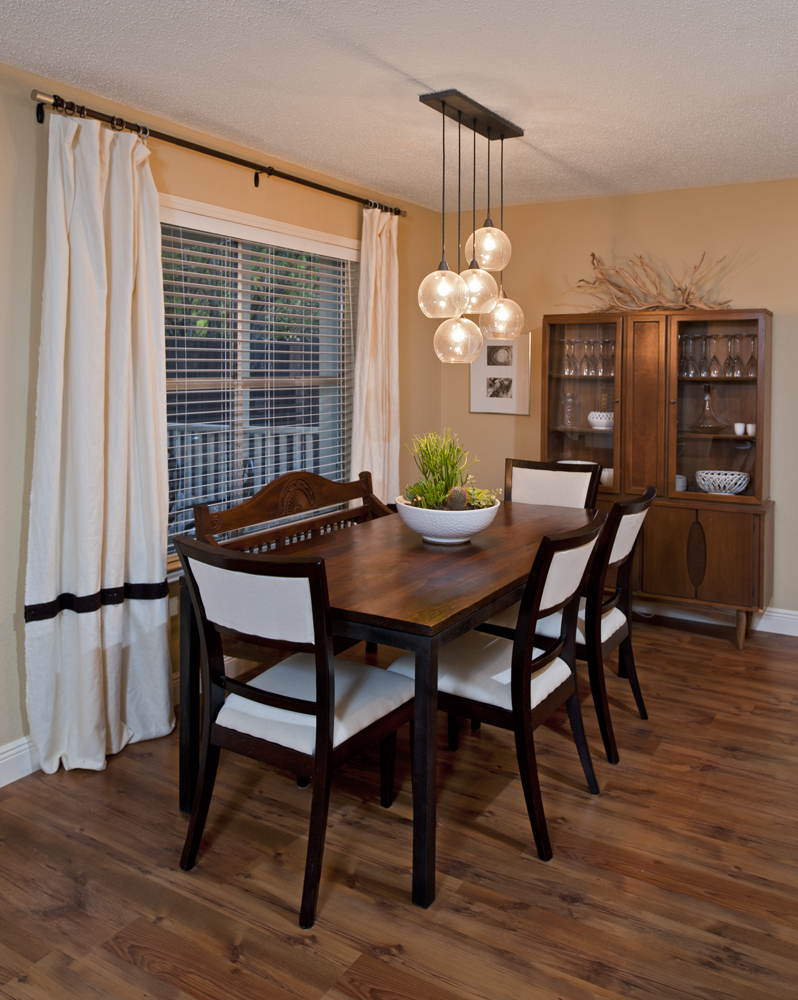
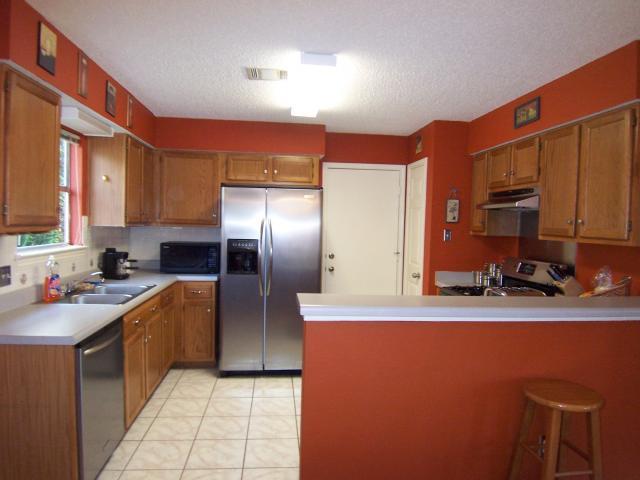
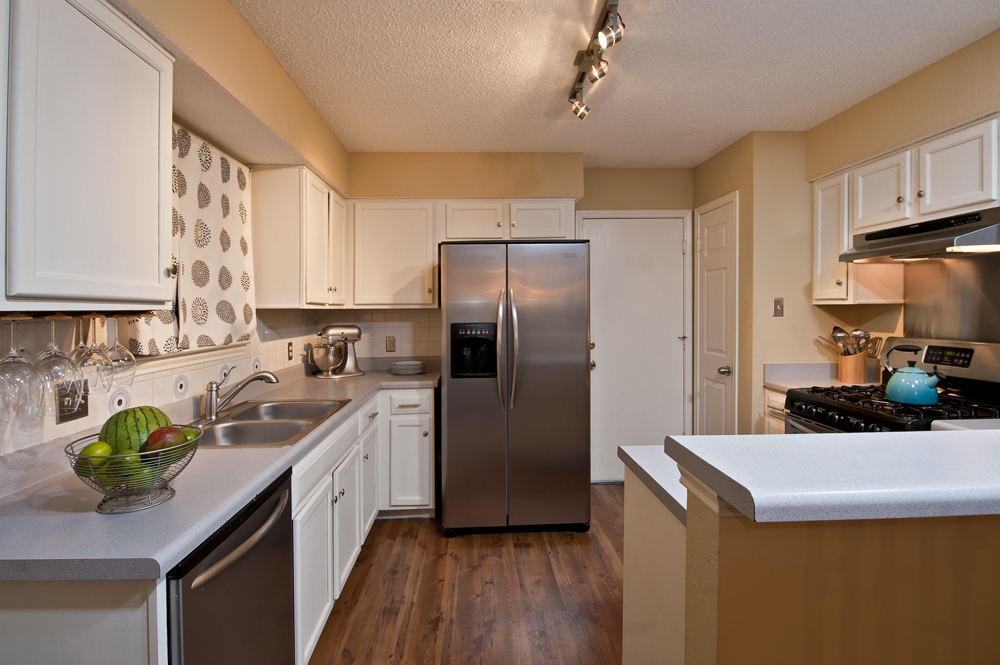
Lots to update on- first- I am now the proud owner of Christen Ales Interior Design, which means I am no longer working for the old firm Bulhon Design Associates. I am officially a free bird and open for business! I work in the Austin area, but would be excited to work on any out of town projects as well and have e-packages available. The website is almost complete, but for now I’d like to share some pictures of my own home. And they are Before and Afters (which I know we all love!) Enjoy! Photography by my talented husband, Merrick Ales.
Overlay Magic!
Published on Aug 5, 2011 - In: Uncategorized
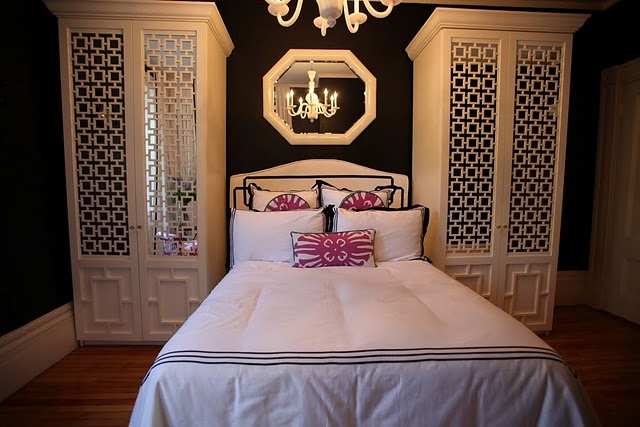
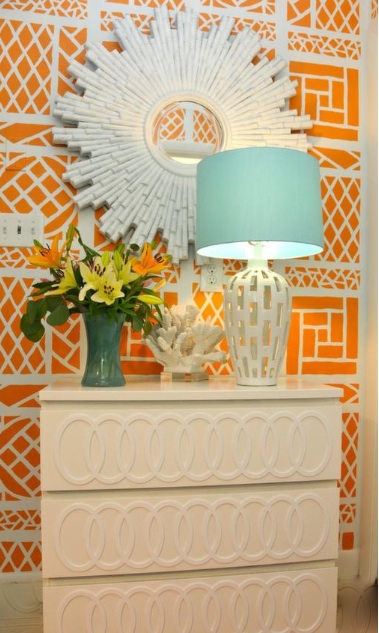
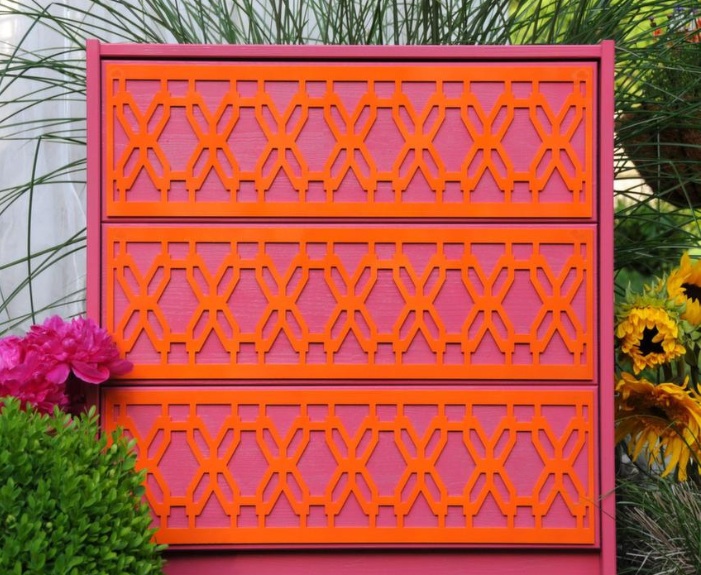
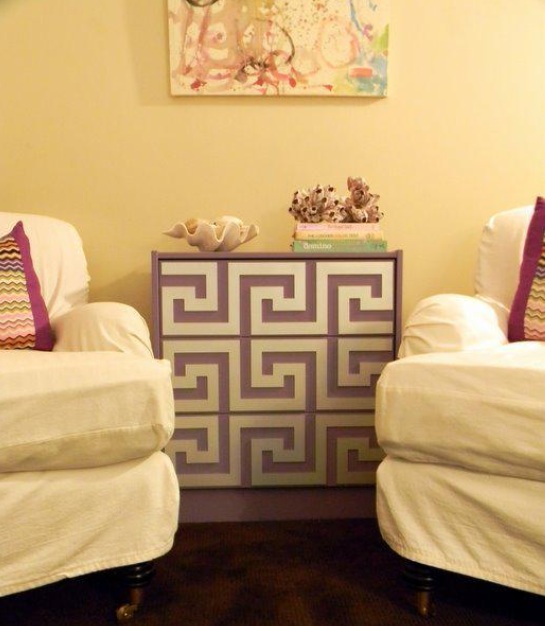
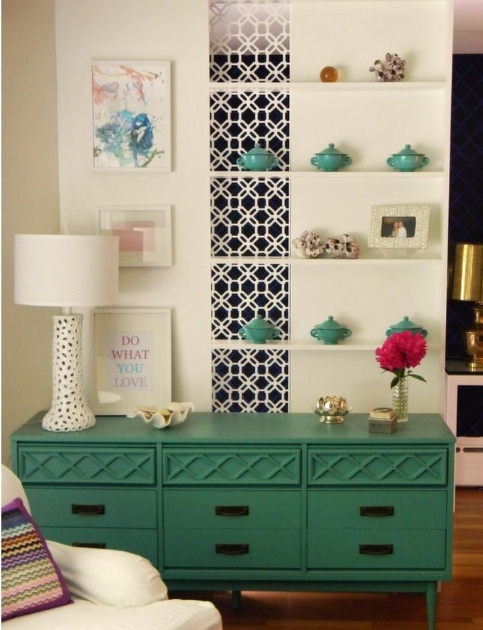
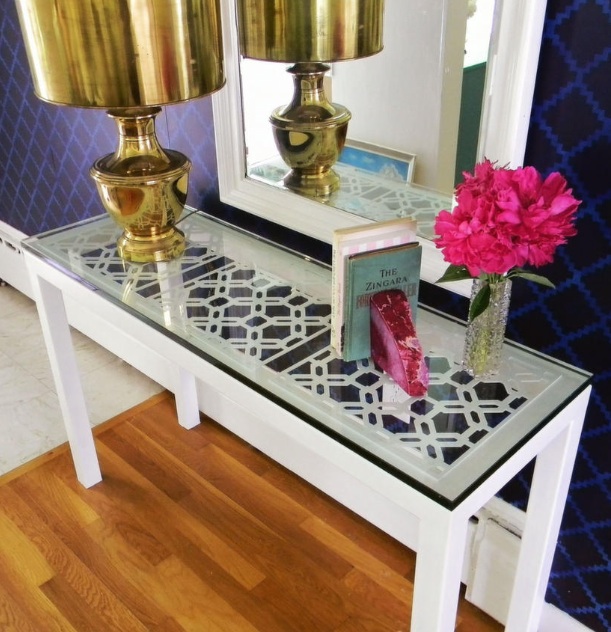
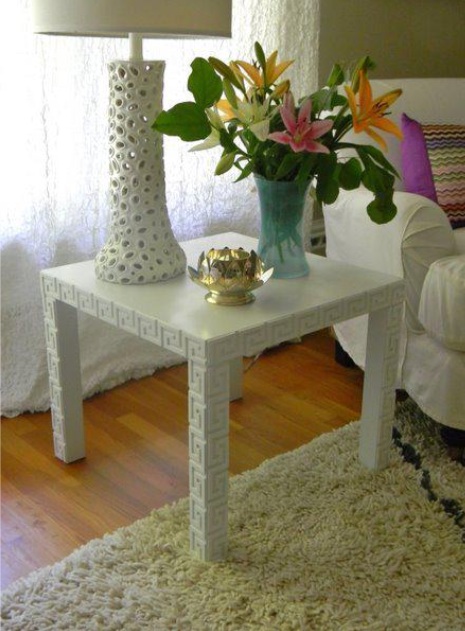
I saw this on Elements of Style blog, and had to share (for those of you that don’t read that blog regularly like me)! I thought these were so amazing for girls on a budget! What better way to dress up an IKEA piece of furniture or cabinet or wall- the possibilities are endless! Many of the overlays are already sized to fit IKEA pieces, but they also will do custom sizing. They are flexible and paintable. I hope to incorporate this on a project soon! These are the brilliant girls that make it- Danika Cheryle.
X-Bench before and after!
Published on Jul 30, 2011 - In: Uncategorized
Our console table is still in progress, but what is finished are our vintage x-base benches! I had the cushions reupholstered in a Pindler fabric and stained the bases a darker chocolate brown to coordinate with the fabric.
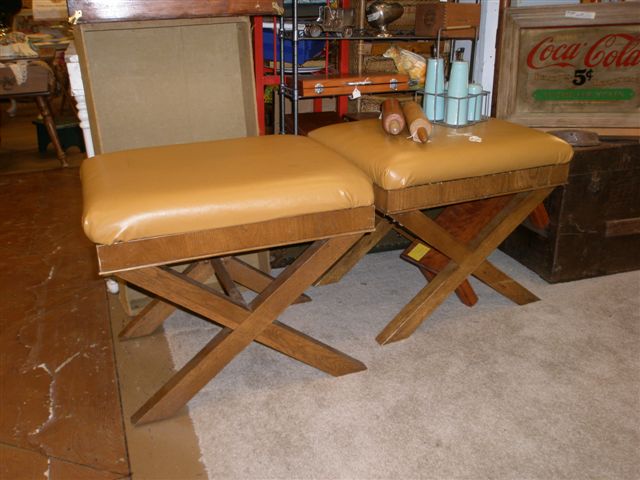
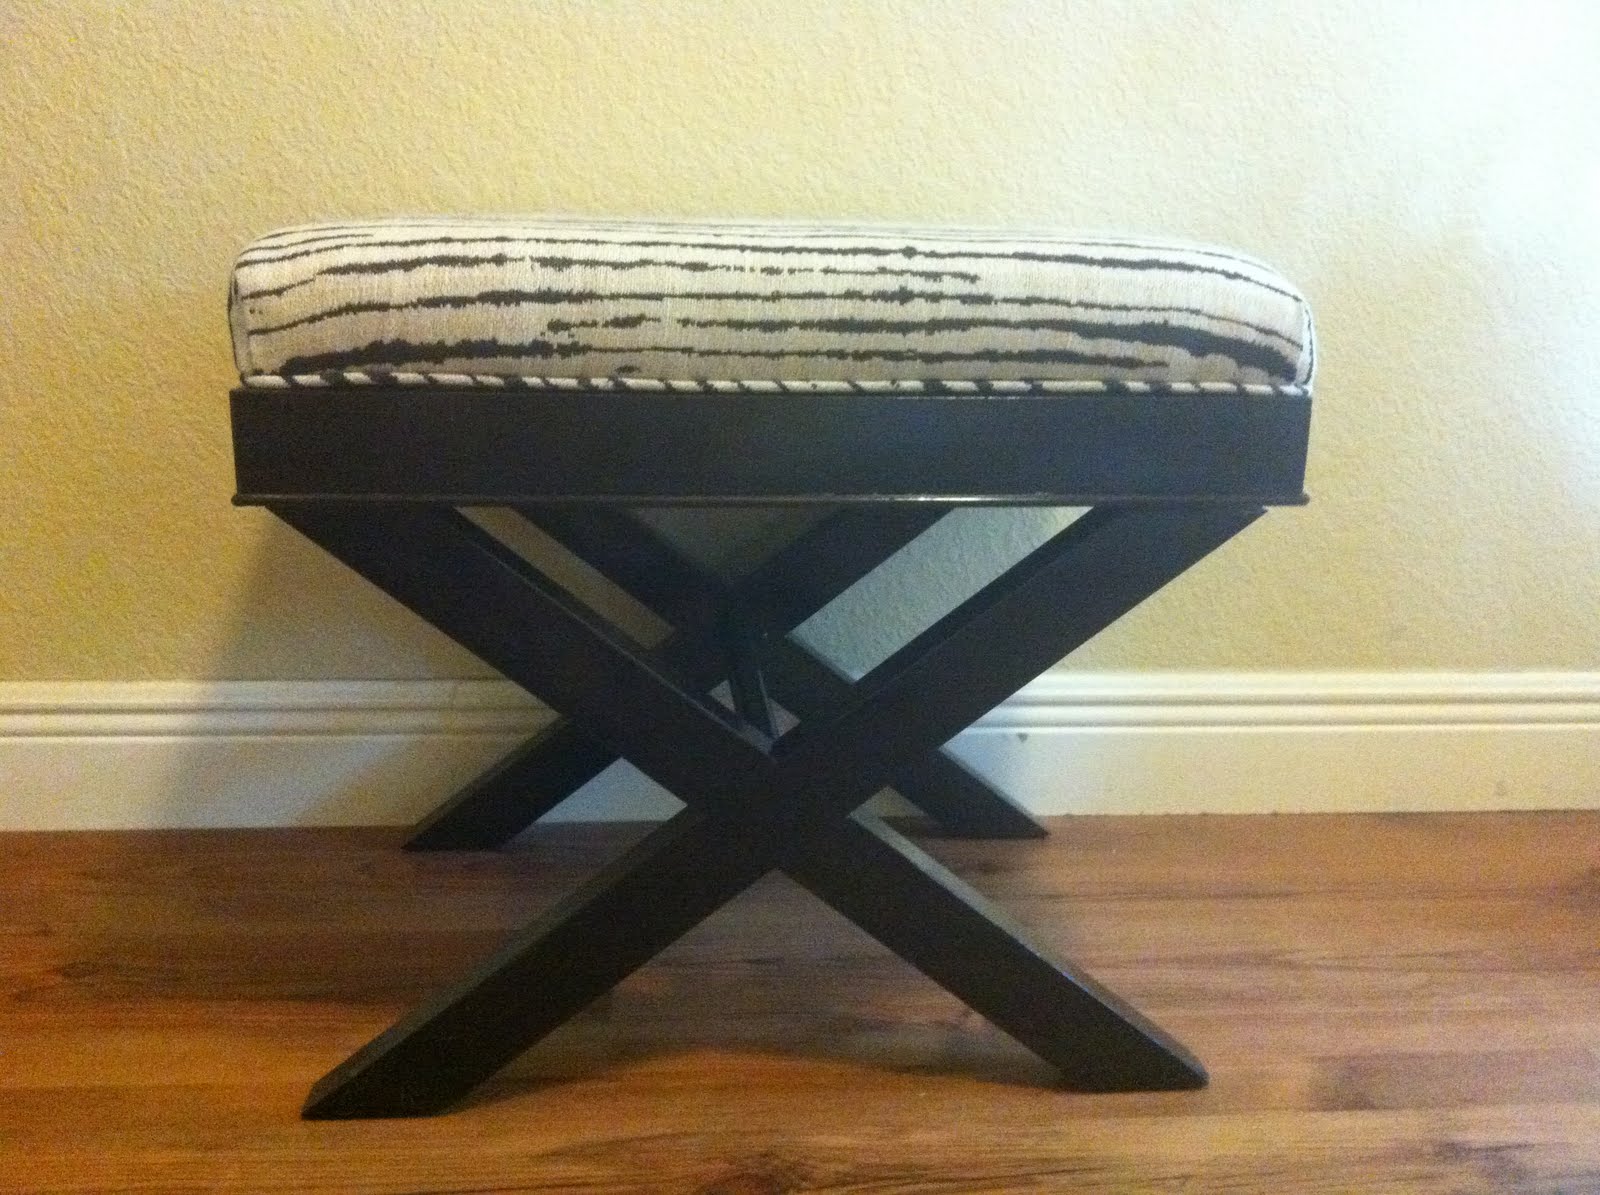
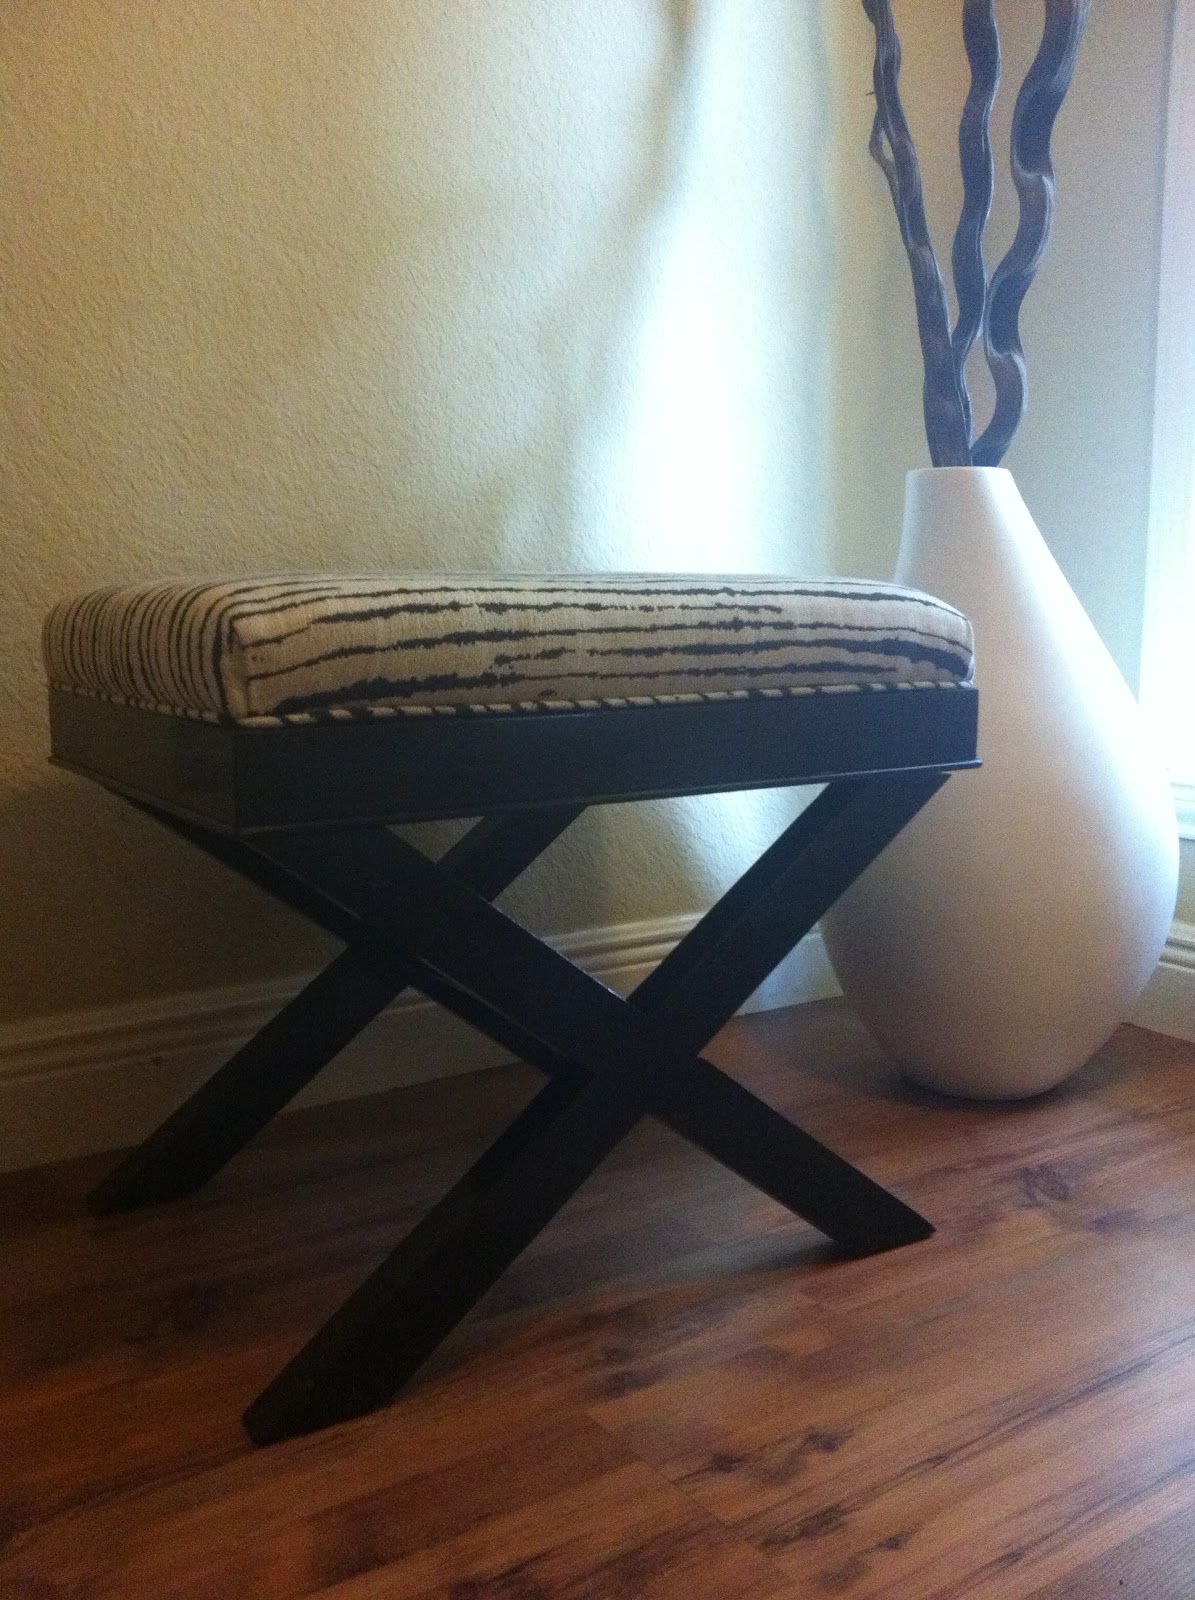
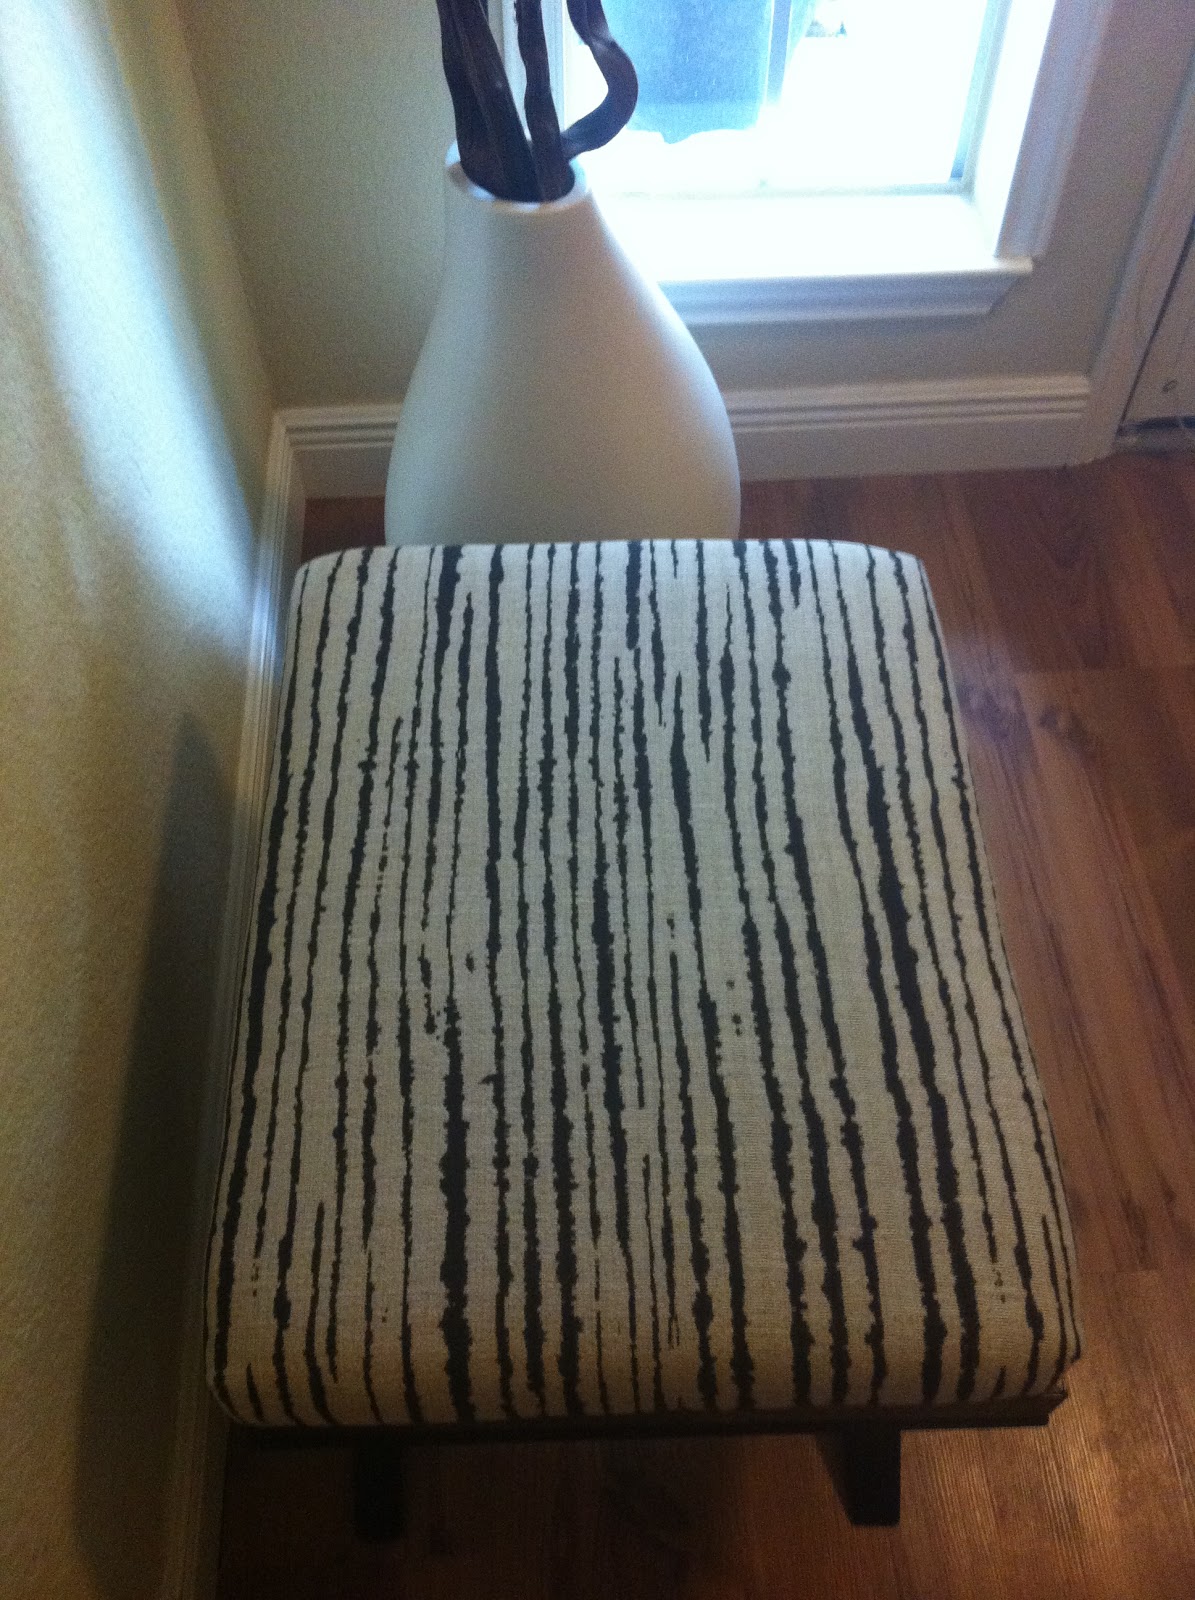
The pair of these will sit under the custom console table we are building-I’m beginning the priming process to prep the table for the wallcovering, so it’s in the works! Thanks for being patient!
Kool Kitchens
Published on Jul 25, 2011 - In: Uncategorized
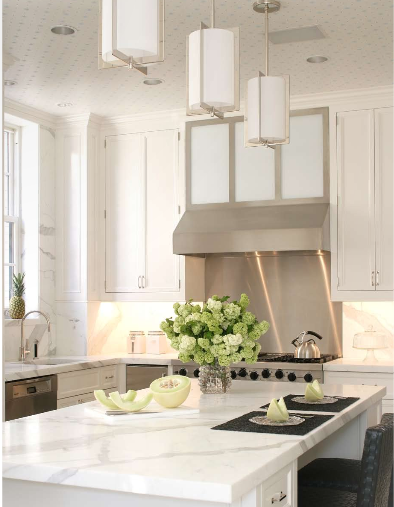
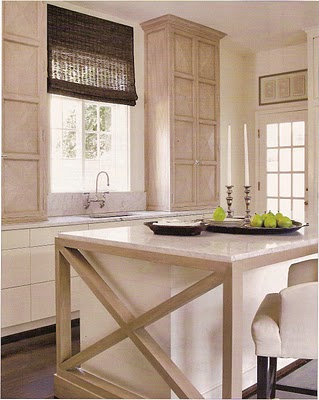
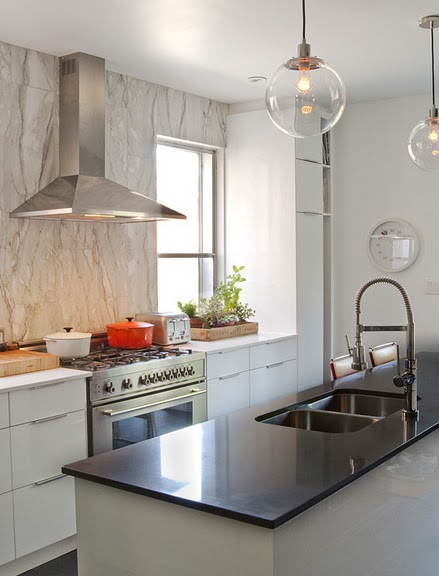
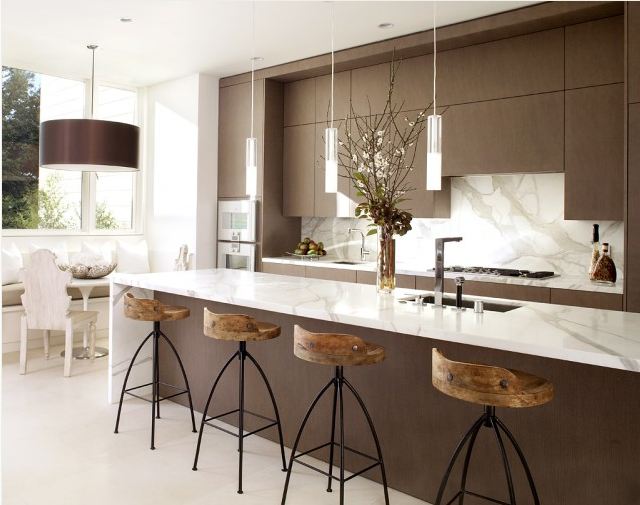
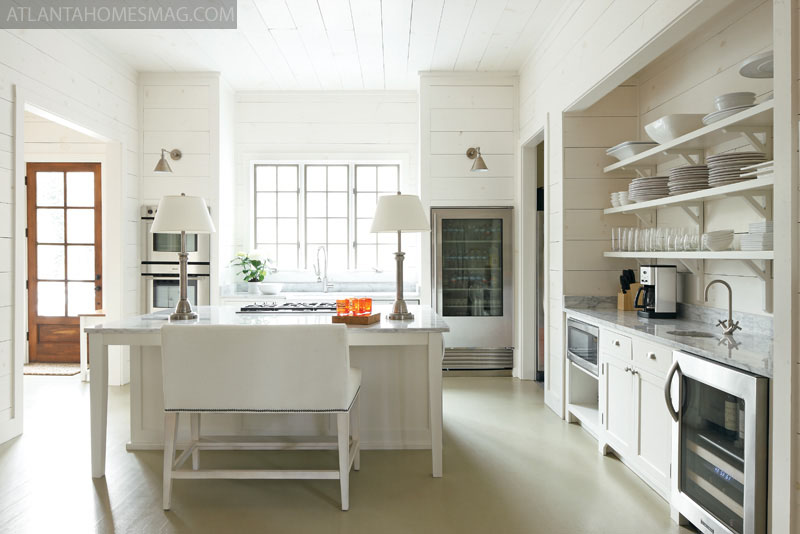
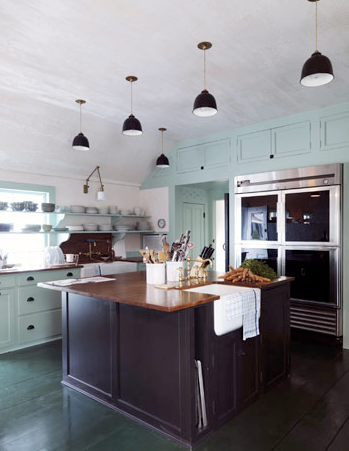
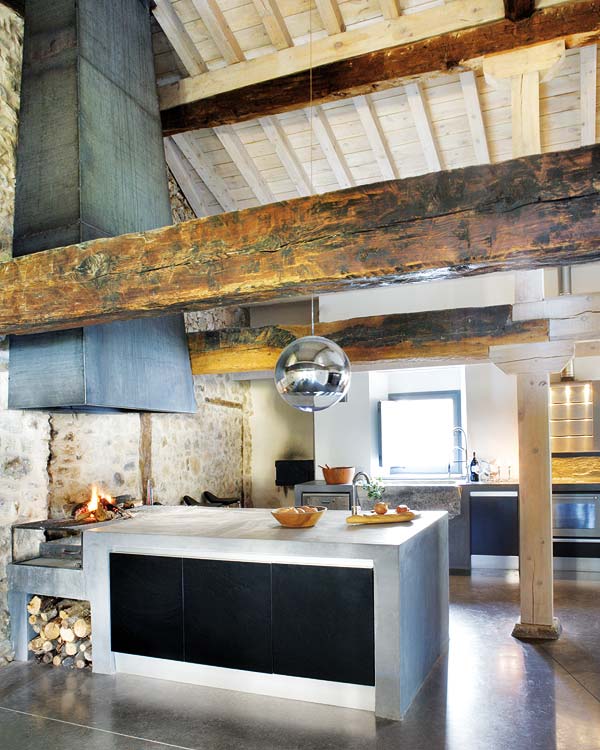
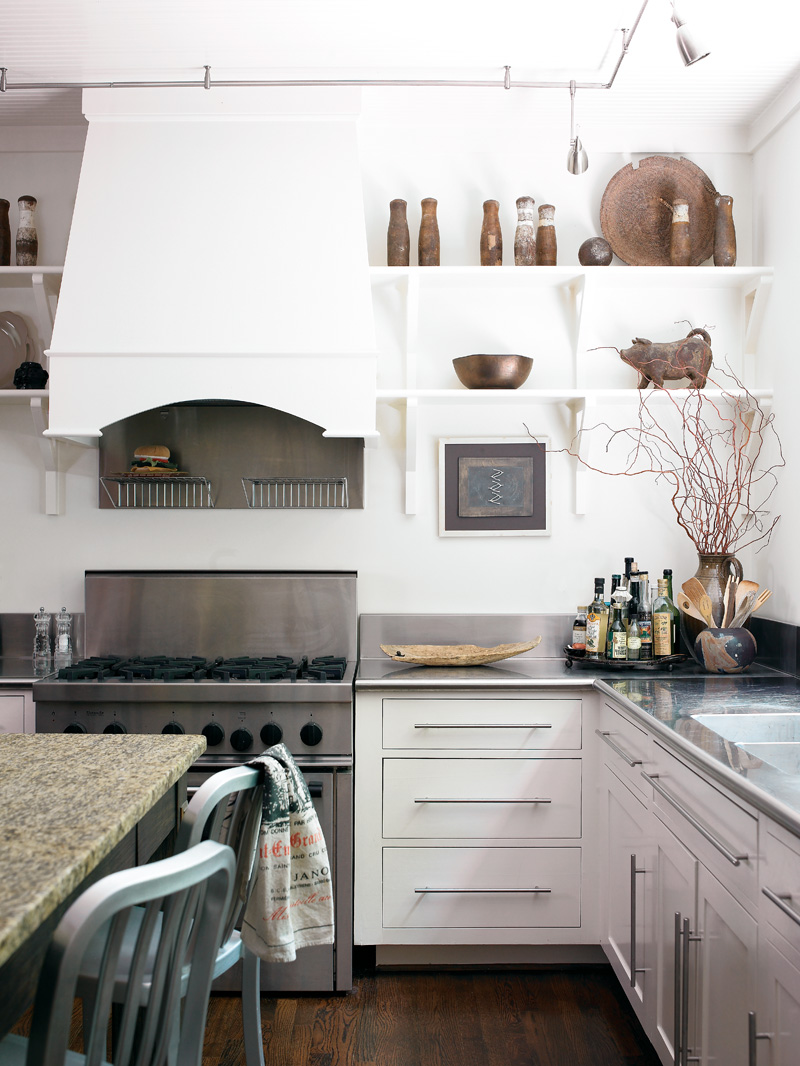
I just wanted to share a conglomeration of my favorite Kitchen inspiration pics! I’m sure I speak for some of you (bloggers and designers especially) when I say that I have TONS of pictures in my library that I save for inspiration of future projects. There’s always at least one element that stands out as being unique, or something that qualifies the picture to be saved. Some of them are just pretty. Enjoy!